Hey there, friends! It's Bertie here, and I'm super excited to take you on a cool adventure into the world of growing lavender plants! I'm just getting started on learning all about these sweet-smelling plants as an addition to our fledgling herb garden, and I'd love for you to join me.
Together, we're going to figure out how to choose the best lavender for our gardens, make sure they have the perfect spot to grow big and strong, and discover all the fun things we can do with our lavender once it's ready to pick.
So, let's get started on some new growth and our herb gardening journey with this awesome and super pretty plant!
Key Takeaways
- Lavender's got a big family, with loads of types to choose from. We've got to pick the right fit for our garden and how we want to use it. But hey, let's keep it simple and start with just a couple of favorites!"
- To keep our lavender happy, we need to give it a sunny spot, make sure the ground drains well, and get the watering and trimming just right. It's like making a cozy bed for our plant buddies."
- Once our lavender's all grown up, we can pick those sweet-smelling flowers for cooking, crafts, or making our homes smell nice. And guess what? We can snip off bits to grow new plants, just watch out for the cold and any pesky bugs.
Table of Contents
Understanding Lavender Varieties
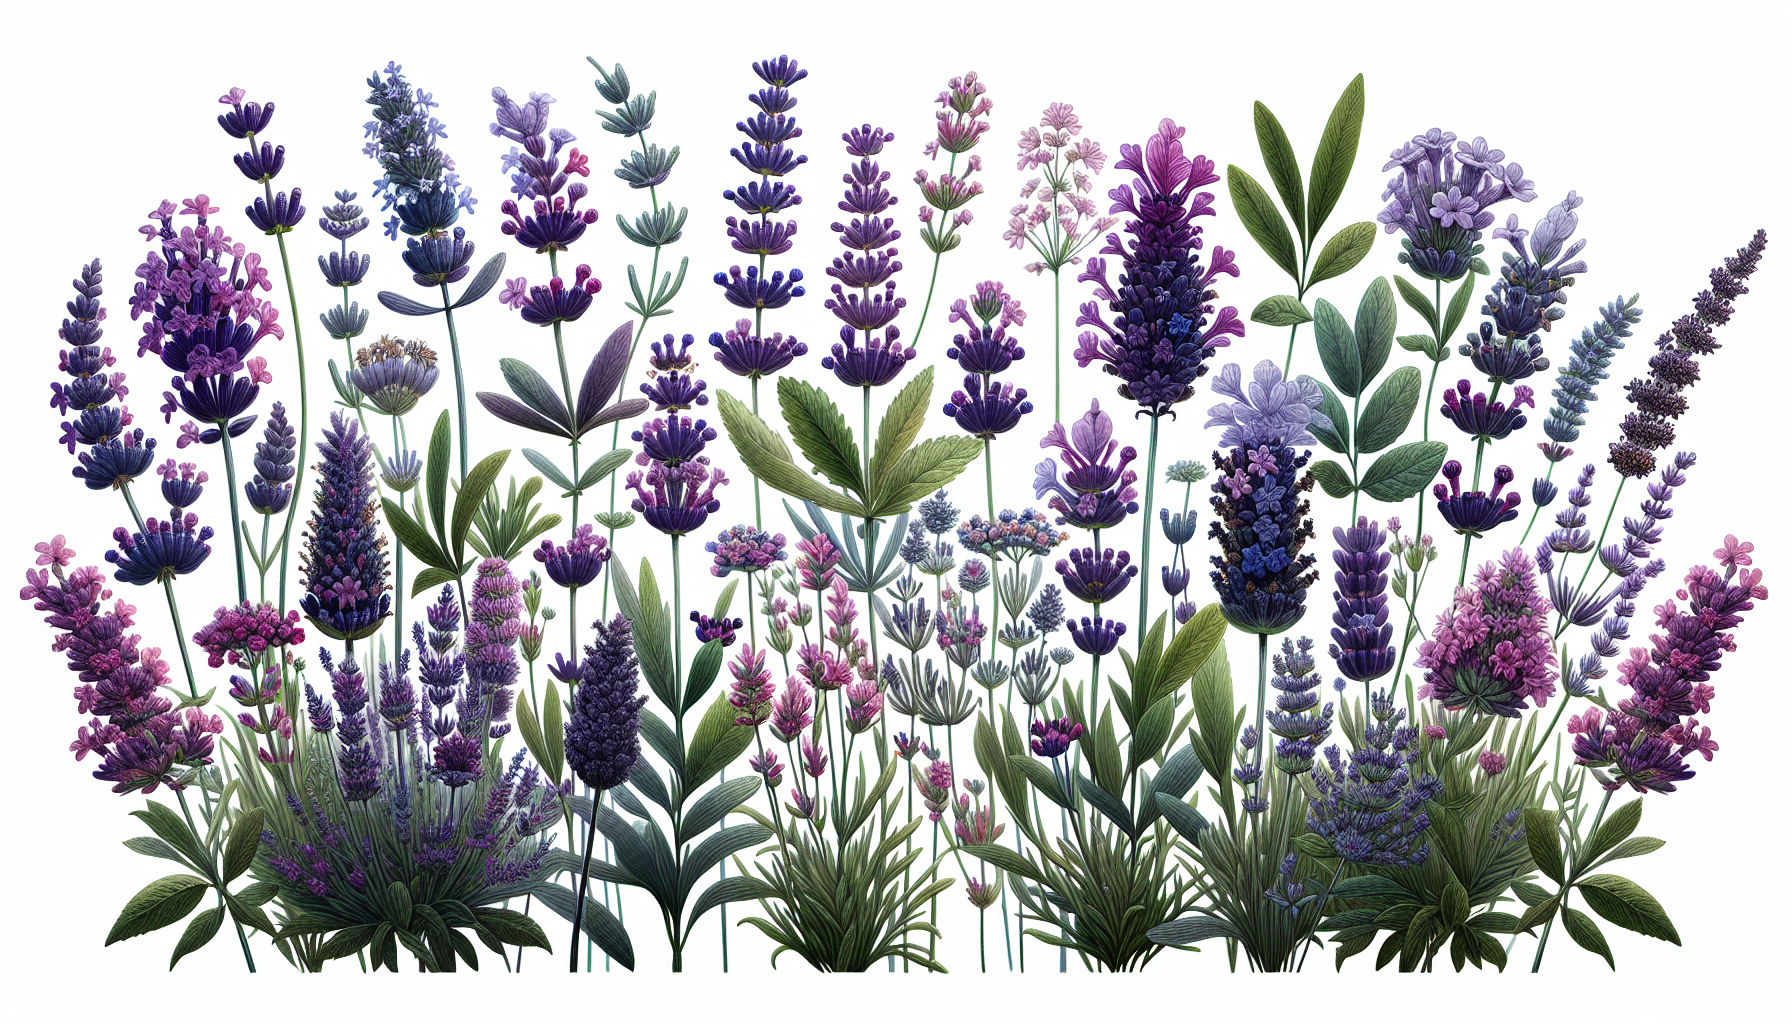
Lavender, with over 45 species and 450 varieties, offers a captivating diversity for any garden lover.
From the dark purple flowers of English lavender to the long-blooming French lavender and the distinct ‘rabbit ears’ bracts of Spanish lavender, each variety brings unique features to your garden.
How do we choose the best lavender for our garden? Let's dig into how to spot the differences between lavender types and pick the best one for our own backyards.
Best Lavender Types for Your Garden
Choosing the best lavender for your garden depends on your climate, the space available, and your desired use.
English lavenders and their hybrids, with gray-green foliage and whorls of tiny flowers, thrive in cooler climates. (I have a beautiful English lavender plant that I purchased this spring.)
If you’re in a warmer climate, Spanish lavender, which prefers full sun and well-drained soil, would be ideal.
Just keep in mind, though. that lavender plants are toxic to dogs and cats. So keep your furry friends away from them if you decide to work with them.
Here's one of my favorite gardeners, Laura at GardenAnswer to tell us more about lavender varieties:
Varieties of Lavender
Laura didn't mention my seed variety, but I'm going to try to the Sweet Romance Lavender she mentioned when I go to buy them because it is compact and blooms the entire season.
Here at Bertie's Buzz for seeds, I'm using another variety of English lavender. I started the seeds on March 14th and have them under a grow light. More about that later!
For culinary purposes, the ‘Betty’s Blue’ variety offers a nice, gentle flavor suitable for culinary purposes, along with a dark bud resembling deep purple flowers. I just researched my seeds and they are the Betty's Blue variety! Yea!
Remember, to assist lavender plants in flourishing and producing flowers, match the variety to your climate. Here is a link to a hardiness zone map from USDA. I'm in Zone 9a.
Planting Lavender Essentials
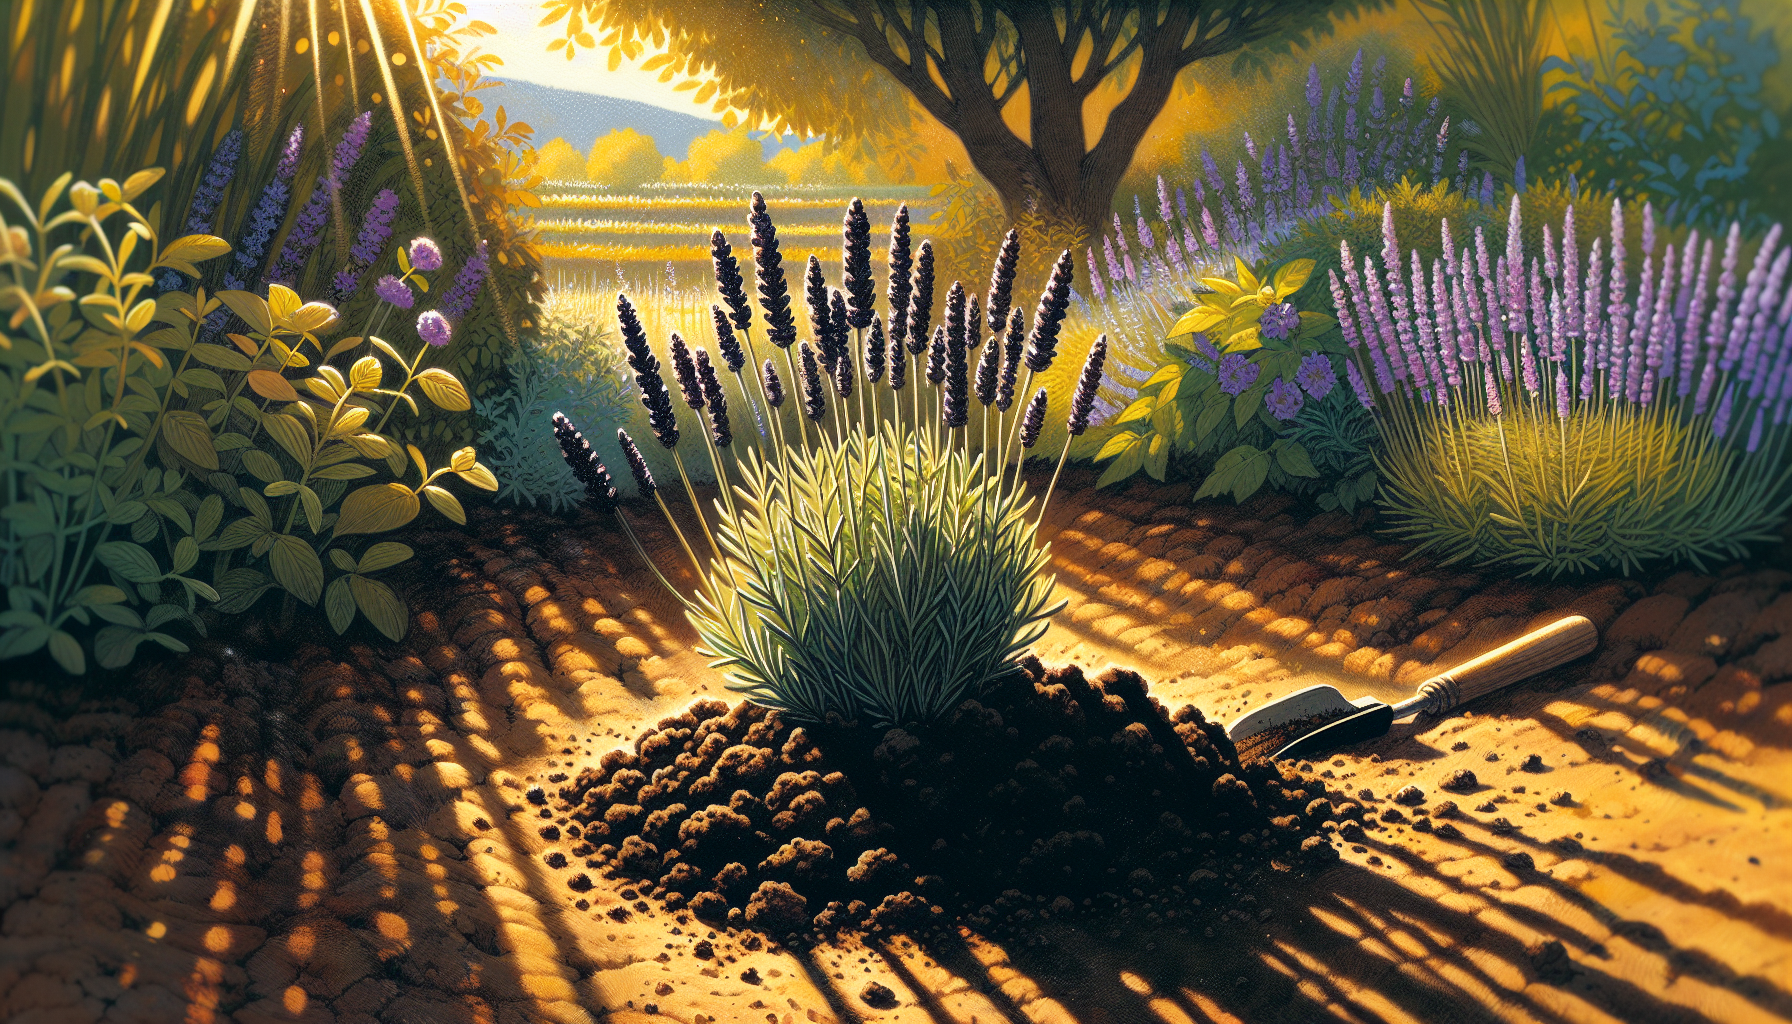
Having selected our type of lavender, it’s time to start the planting process. Based on my research, lavender needs full sun and good drainage to thrive and produce vibrant blooms.
If you’re in a moist or humid region, consider planting lavender in a container to maintain adequate drainage and a good air circulation throughout.
I plan on using experimenting with both a container and in my garden spot which is on a sandy hill. If you're like me, you don't have a lot of room either way!
Lavender is best planted as a young plant starting in the spring after the soil has warmed up to at least 60°F (15°C) and the threat of frost has passed.
Hmmm - maybe I need to rethink my seed tray and for sure get baby plants I mentioned above. We'll see how the seedlings grow when they sprout! For sure, this is a learning experience!
Now, let's break down the nitty-gritty of getting your lavender plants in the ground. We're gonna talk about finding the sunniest spot in your yard, getting the dirt just right, and how to plant these little guys the best way.
Choosing the Right Location
Let's talk about where to plant our lavender. These little green guys love basking in the sunshine, just like us on a beach day. They need a good 6-8 hours of sunlight to be happy and healthy.
Think of a spot where the sun loves to hang out – that's where it's best to grow lavender. This sunbathing helps the plants stay dry and keeps those yucky fungi away.
If our lavender plants don't get enough sun, they can get all spindly, won't give us as many pretty flowers, and might not smell as sweet.
So, remember, lots of sunshine equals happy lavender! Oh, I also read it takes 2-3 years for our lavender to really take hold, so don't be discouraged.
Preparing the Soil
Once you’ve found the perfect sunny spot for your lavender plant, it’s time to get your hands dirty and prep the soil.
Lavender is pretty chill about soil—it doesn’t need it to be super rich with stuff like compost. What it really digs is a place where water doesn’t stick around for too long so they don't get root rot.
And the same goes for containers. Allow plenty of space for fast draining soil in your potting mix. Heavy soil might not drain easily.
You can make your soil more like lavender’s favorite by mixing in some sand or gravel to help the water drain faster. I for sure don't need to add sand!
Now, let’s talk about the soil’s pH—that’s like a scorecard that tells you how acidic or basic your soil is. A lavender plant is happiest in soil that scores between 6.5 and 7.5.
If you’re scratching your head wondering what your soil’s score is, no worries! You can grab a soil pH test kit at your local garden center or online. We are testing the BandQ Soil Test Kit 4-in-1 based on the reviews at Amazon. We'll let you know how we like it.
Most test kits are super user-friendly and will let you know if you need to add some lime to bump up that score, making your soil the perfect home for your new lavender pals.
Planting Techniques
Okay, so now that we've got the dirt all set, let's chat about how to plant our lavender buddies. You're gonna want to dig a cozy little hole if you plan to grow lavender plants that's just the right size for the plant's roots.
Lavender doesn't like to go too deep—about 8 to 10 inches down is plenty. And hey, don't crowd them!
Space plants about 18 to 24 inches apart giving plenty of breathing room between each one. That way, they get enough air and don't start any turf wars over space.
Caring for Your Lavender
OK, now we've got our lavender in the ground, so let's chat about how to keep these little guys happy.
They're tougher than they look and don't need a ton of fussing over. But, as you care for lavender, giving them a bit of love here and there can really help them grow strong and stick around longer.
Watering Wisely
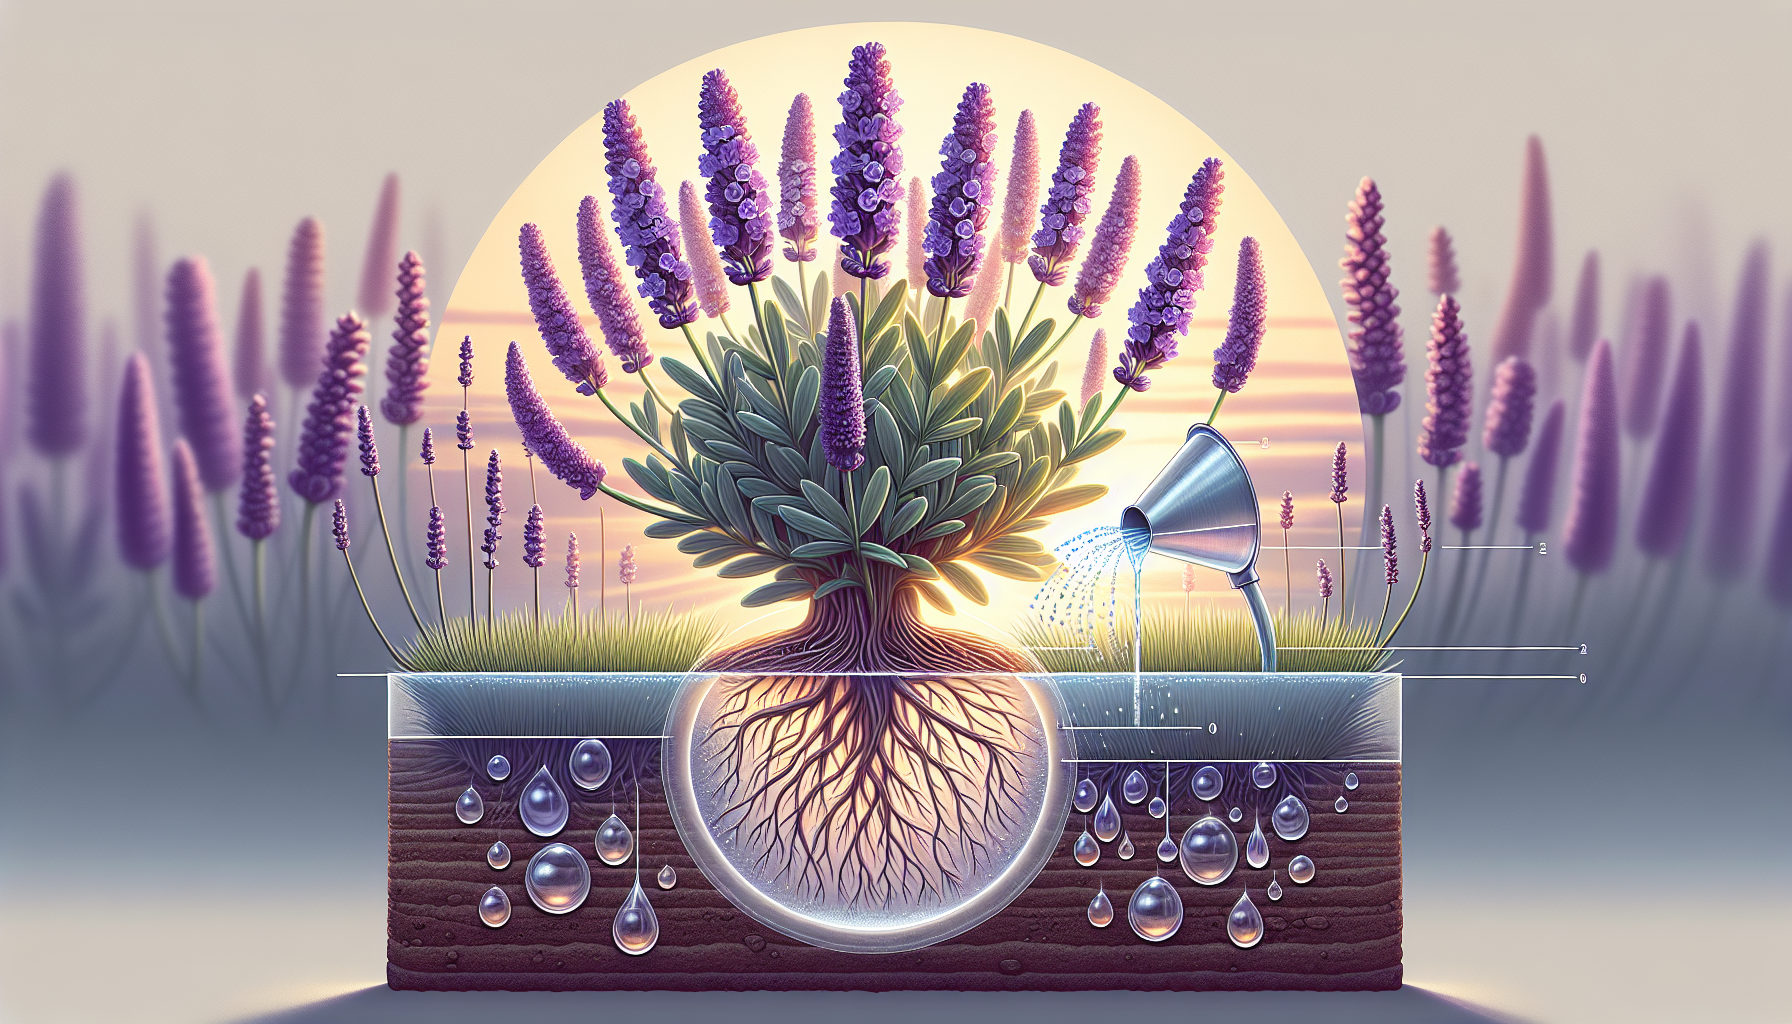
When it comes to watering lavender, less is more. These plants should be watered when the first few inches of soil look and feel dry. The trick is to give the plants a thorough soaking less frequently, targeting the area around the roots.
So we need to water them good every now and then, especially around where the roots are hanging out. Doing it this way makes sure the roots stretch out deep into the ground, which is awesome for when it gets super dry and there's not much water around.
Instead of spraying water over the top, give the ground a good soaking around where the lavender's roots spread out. This helps the water go deep and makes the roots strong.
Plus, we don't want to get the leaves all wet from above because that can lead to a nasty thing called bacterial leaf spot.
Fertilizing and Mulching
Lavender doesn't need a lot of extra food from fertilizers. If you give it too much, you'll get a bunch of leaves but not many flowers, and it can get sick easier.
But a bit of organic mulch—that's just stuff like chopped-up leaves or straw—can keep the soil moist and stop weeds from growing too much.
Remember to keep the mulch away from the lavender plant’s stem and crown to increase air circulation and prevent stem rot as well as root rot.
Pruning Practices for Lavender
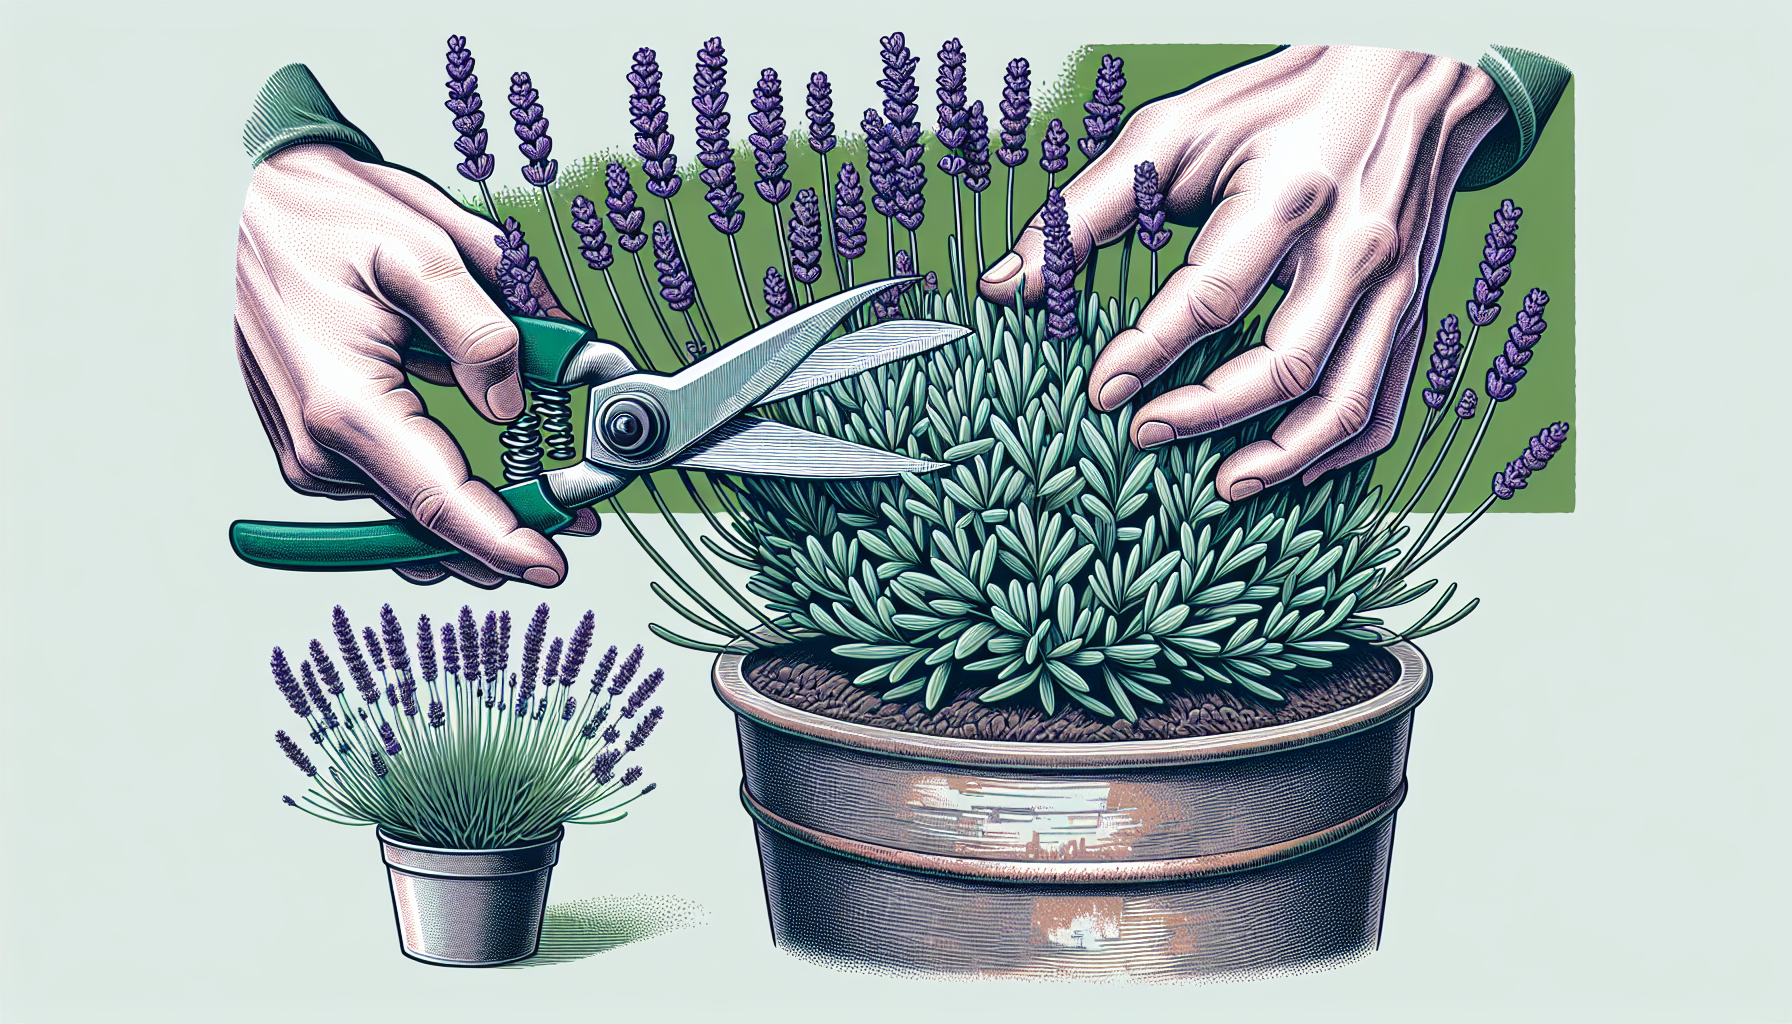
I've learned that regular pruning is a key maintenance practice for lavender. It prevents the plant from becoming shapeless and overly woody.
That leads to reduced flower production and impairs plant health. Pruning also encourages healthy branching and blooming.
When to Prune Lavender
Remember, lavender is a perennial so it will be here next year! The best time for us to prune our lavender depends on your climate.
In cooler climates, lavender should be pruned in the spring when green leaves start to emerge.
In warmer, humid climates though, prune lavender in early spring for clean-up and in late summer for the most thorough pruning. (I'm kind of, sorta, in the middle!)
In areas prone to early frosts, lavender should be pruned in August to prevent frost damage, while in warmer climates it can be done as late as early September.
How to Prune Different Lavender Types
For taller lavender plants, such as English and Spanish lavender, pruning should remove about one-third of the plant's height. We're excited to experiment with both of these varieties in our garden.
Be careful that pruning is done 2-3 inches above the woody part of the stem.
Harvesting and Utilizing Lavender
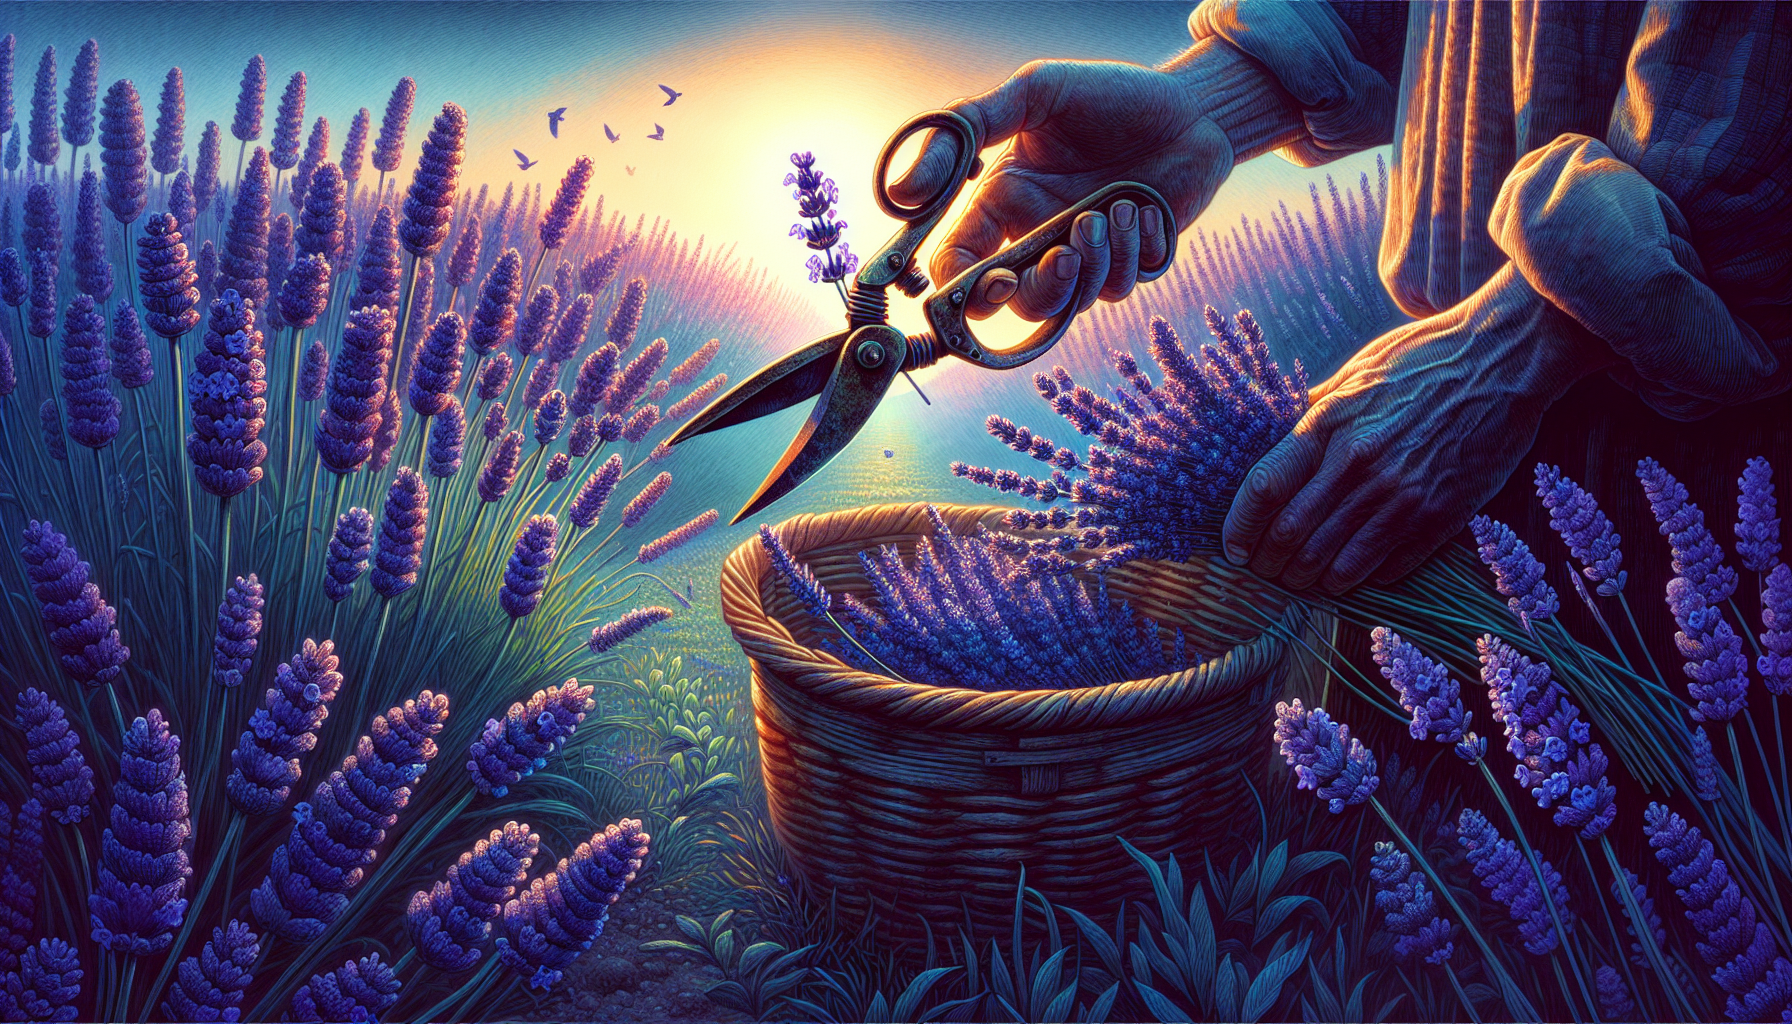
Harvesting and using dried lavender buds is super satisfying when you're growing these pretty plants. You'll want to pick the lavender flowers just when they're about to bloom to get the best smell and make them last longer.
Once you've got your flowers, you can throw them into your cooking (we'll have fun with some recipes in a later article), make some cool crafts, or use them to make things smell nice.
Next. let's dive into the simple steps of picking lavender flowers and all the fun stuff you can do with them.
Collecting Lavender Flowers
For the most awesome smell, you wanna grab those lavender flowers in the morning when the sun's just starting to do its thing. That's when the good stuff in the lavender buds is all fired up and ready to go.
If you're planning to whip up something tasty, snatch those buds just before they pop open.
And when you've got your lavender all dried up, stash it somewhere cozy, dry, and away from light. It's like a secret hideout where they keep their color and smell really good for a long time.
Creative Uses for Lavender
The uses for lavender go beyond its beauty in the herb garden. Here are some of its uses:
- In the kitchen, dried lavender wows the flavor of baked goods and can be used to infuse honey.
- A beautiful bouquet of dried lavender makes an awesome gift, especially tied up with a pretty bow.
- In crafting, lavender wands are essentially bundles of magic for your drawers or closets. Think of them as old-school, natural air fresheners. You take fresh lavender, braid it together with some ribbon, and voilà – you've got a pretty little wand that smells like a summer breeze in the French countryside.
- Both English and French lavenders can also be used to produce essential oils, albeit with a slightly different aroma profile that is highly valued in aromatherapy and perfumery.
Here is a great article by a colleague of mine from Creativity Chronicles about other creative uses for lavender: Unveiling the Secrets of Dried Lavender: Enchanting World of Fragrance and Versatility
And if you're artsy and love working with crafts, here's another article by Jessica you'll love to explore: Lavender Art: A Tranquil Journey Through Color and Scent
Overwintering Lavender Successfully
Depending on where you've set up your garden fortress to grow lavender, you might need to give your buddies a little extra TLC to get 'em through the chilly winter months.
If you're chilling with me in Zone 9, it's a bit of a breeze, but for those braving colder spots, picking the tough-as-nails varieties and wrapping 'em up snug as a bug can make all the difference for a happy reunion come spring.
If you’re growing lavender in containers, wrap the pot to protect the roots from freezing, provide sunlight, and reduce watering until the top inch of soil is dry. I'll be experimenting with a container, just for fun.
Troubleshooting Common Lavender Issues
Even with proper care, lavender plants can sometimes encounter issues. Pests, diseases, and environmental stressors can all pose challenges. Let’s examine some common problems and their respective solutions.
Managing Pests and Diseases
Lavender can attract common pests such as:
- whiteflies
- spider mites
- leafhoppers
- spittlebugs
It’s important to monitor and manage these pests to ensure the health of your plants. Ladybugs and lacewings, attracted to lavender, act as natural predators of these pests.
Diseases such as Phytophthora (root or crown rot) and septoria leaf spot can also pose challenges.
Reflective mulches, companion planting, and organic treatments can help manage these pests and diseases.
Woody Stems
As lavender grows, the plants can get woody stems after a few years. However, no need for alarm and don't "throw the baby out with the bathwater!" Careful pruning of those old woody stems will have your lavender looking good again. 🪻
Summary

Wrapping it all up, folks, Bertie here to tell you that lavender is one amazing plant to have in your green-thumbed arsenal.
I'm so excited about getting started with my little lavender patch to see how it will do here on the coast. It will be a beautiful part of my herb garden.
And did I mention that these beauties attract butterflies 🦋and other beneficial insects? What a joy for a gardener!
So whether you're head over heels for its gorgeous purple getup (like me), its chill-out vibes, or its kitchen and crafty perks, lavender's got a little something for everyone. So, what do you say? Ready to kick off your own lavender love affair?
Frequently Asked Questions

Does lavender grow back every year?
Yes, lavender is a perennial plant, so it will grow back every year if properly cared for, with adequate sunlight, water, and attention.
Where does lavender grow best?
Lavender grows best in full sun and well-drained, low to moderately fertile soils. It thrives in neutral to slightly alkaline soils and prefers hot, dry, rocky, or sandy environments, similar to its native Mediterranean habitat.
Does lavender need full sun or shade?
Lavender definitely needs full sun and well-drained soil to grow best, although in hot summer climates, some afternoon shade may help them thrive. (My little lavender crop will definitely have afternoon shade.) But it is best to plant lavender in a location where it can receive plenty of sunlight.
What are the benefits of lavender?
Lavender offers a variety of benefits including improving sleep, treating skin blemishes, relieving pain, reducing blood pressure, and providing anxiolytic (that's anxiety relief) and antimicrobial effects. This makes it a versatile and natural solution for various health concerns. (Wow! I didn't know that!)
How often should I water my lavender plants?
Water your mature lavender plants every two to three weeks until flower buds form, then increase the frequency to once a week or more until the flowers are harvested. This will help maintain the health and vibrancy of your lavender plants.
Thanks for stopping by our bee hive! Be sure to check out our article that tells all about Bertie's Buzz and references other articles you may enjoy reading!
And if you haven't already read our first two articles about our herb gardening, here are the links again:
Article No. 1 - How to Plan an Herb Garden to Elevate Your Culinary Space
Article No. 2 - Herb Garden Adventures: Plant & Grow with Me!

See you in our herb garden!
Bertie
Before you leave, if you haven't already done so, please subscribe so you will be the first to see reviews you can rely on.
Thanks for stopping by our beehive!

Bertie

About the Author: Hi, I'm Jacki, and I write under the persona of Bertie, my beloved maternal grandmother. Bertie, born in 1891, was the wife of a farmer and an incredible gardener. Although she wasn't formally educated, her intelligence and deep understanding of gardening and farming were unmatched. She passed away in 1974, leaving me with a rich heritage of grassroots living and a wealth of practical gardening knowledge. Through her memory, I reach back into this rich history to share timeless gardening wisdom with you.


Member discussion